SellPro
Create Event and Add Awards (Host)
EVENT CREATION
- To create new event, click the following link to access OMS, using your current SellPro user name and password: https://secure.sellpro.net/
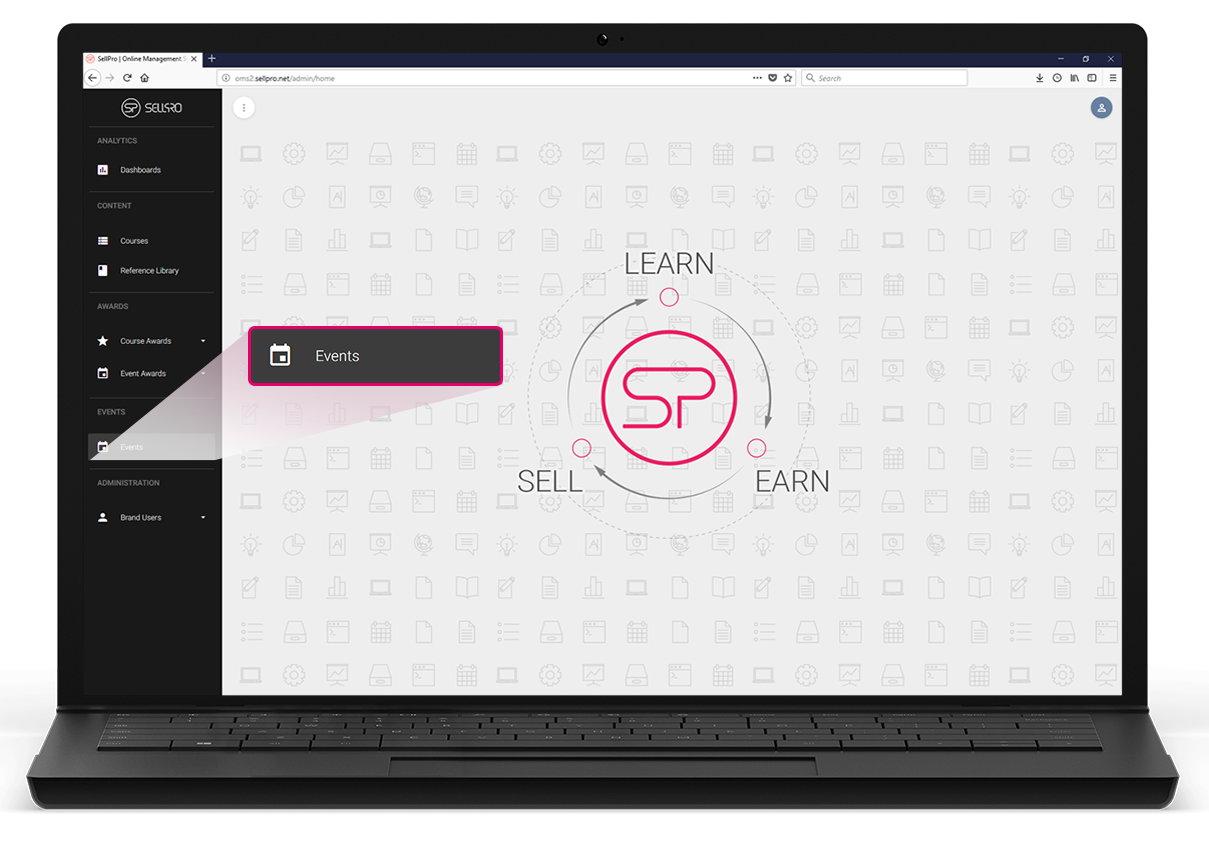
- Scroll to the Events section in the main menu and click on the Events menu item
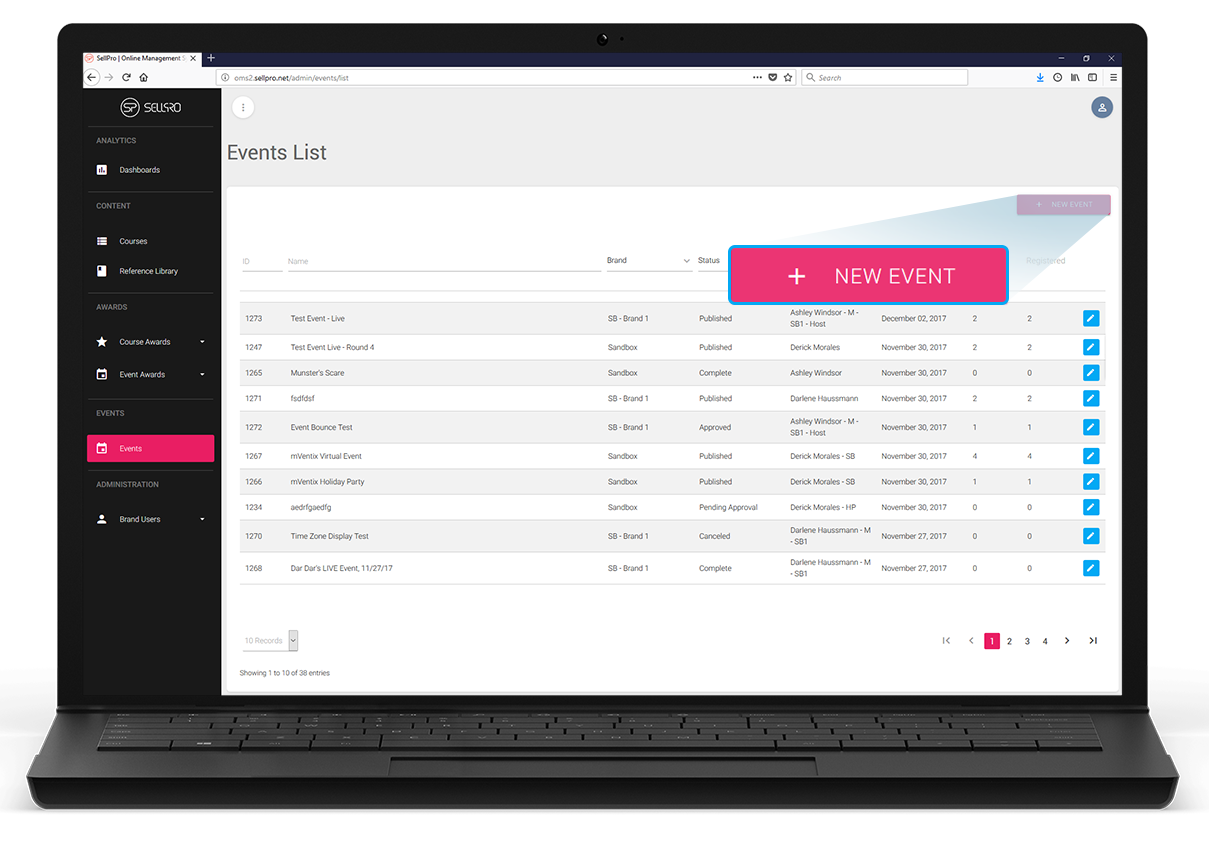
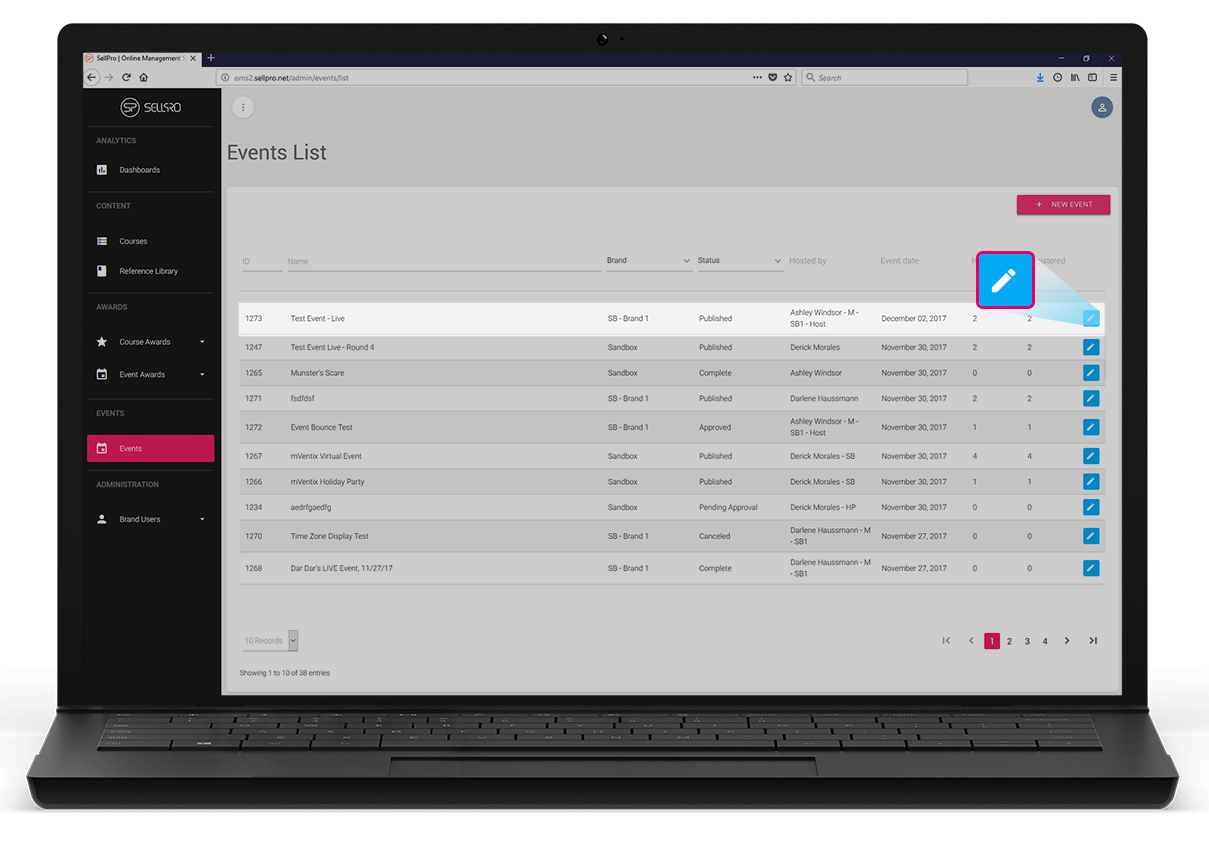
- The events menu item will take you to a list of all the events you have created and the events you are a co-host of. Click on the + New Event button on the top right of the list
- This will reveal three different options, click on the desired event type:
- Live (an event executed at a location, such as a movie theater, Dave & Buster's, etc)
- Live-Single Store (an event executed at a specific retail store location, and is exposed to Sales Associates of that specific store, based on their profile info)
- Virtual (an event executed over a video or phone conference)
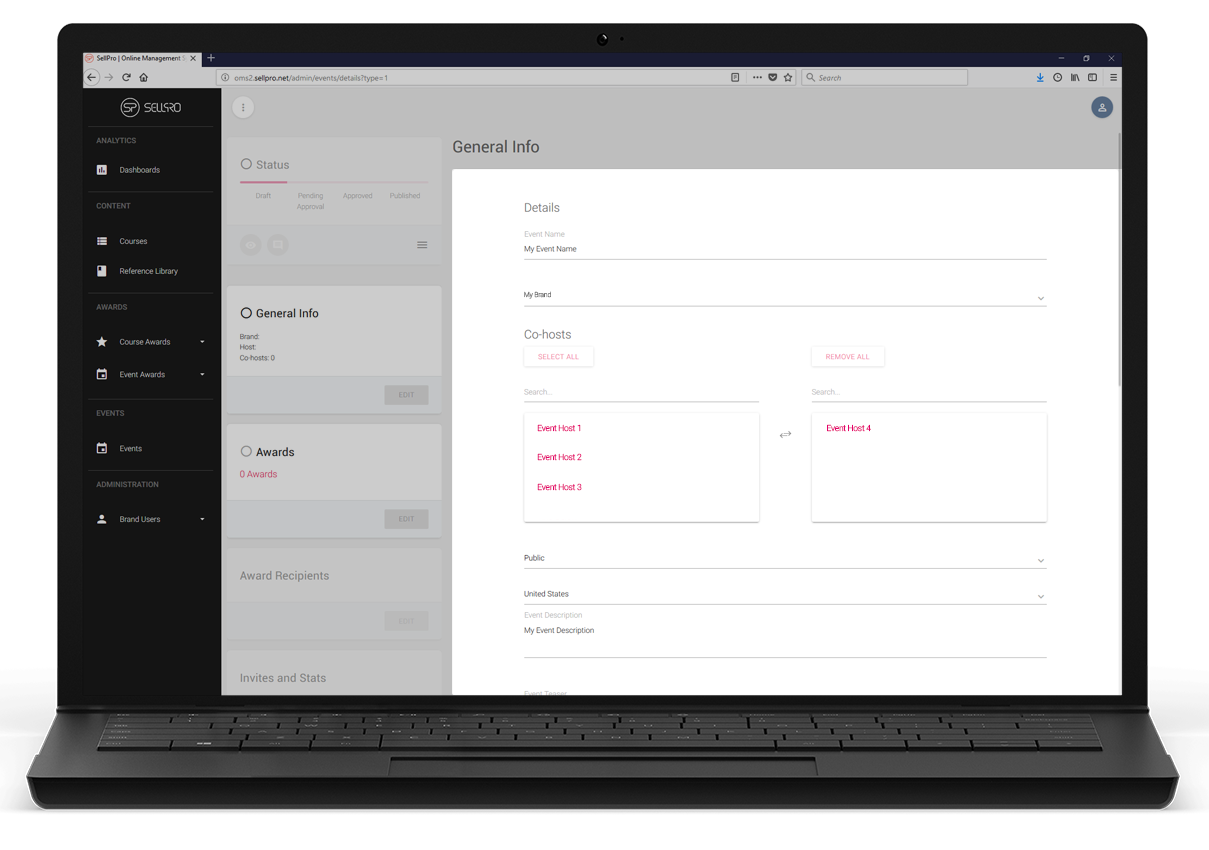
- Once you have selected your desired event type this will take you to the General Info form where you can start creating your event:
- Fill out all the requested fields
- Here are explanations to some of the important fields:
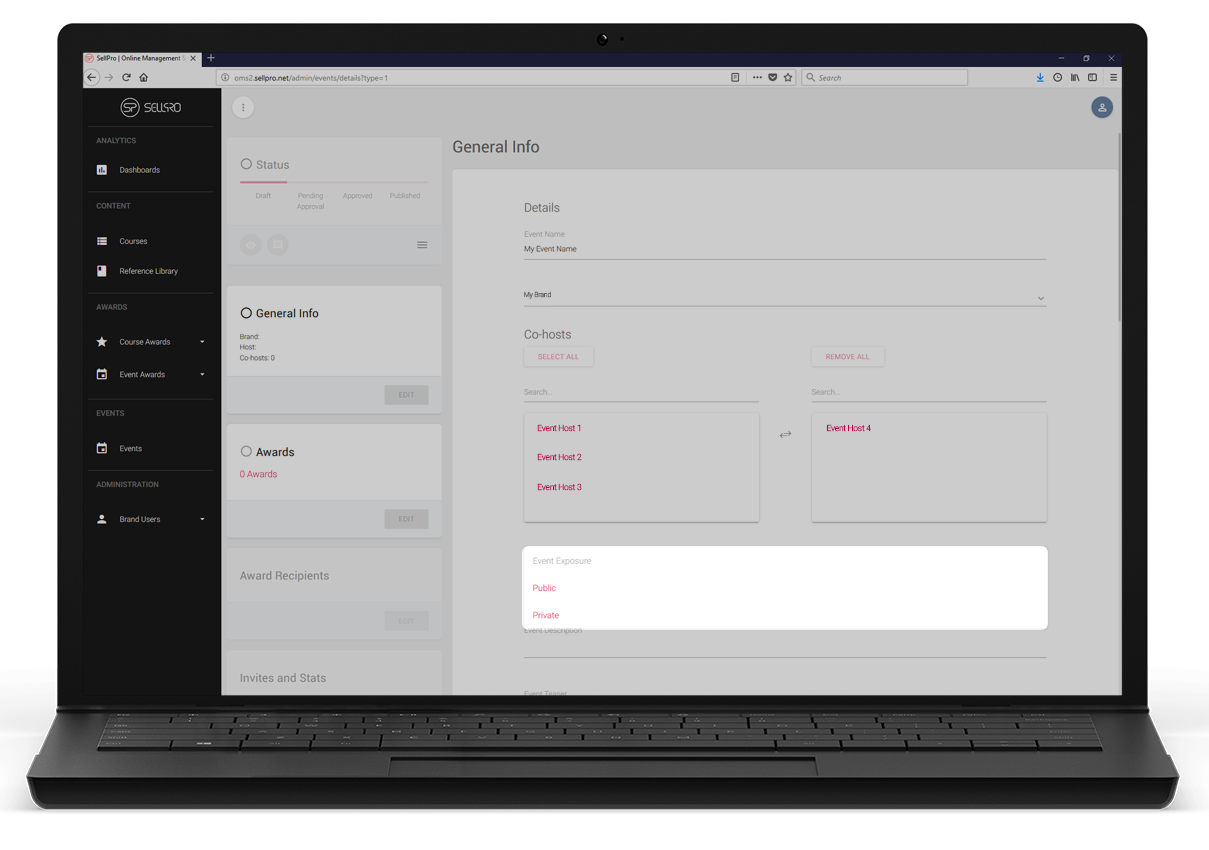
- Event Exposure
- Public event.
- Public events will be visible to all SellPro users who qualify for the event as soon as it is published
- Private event (invite only).
- General public will NOT see this event in the SellPro Events page.
- Only invited users will be exposed to this event.
- Public event.
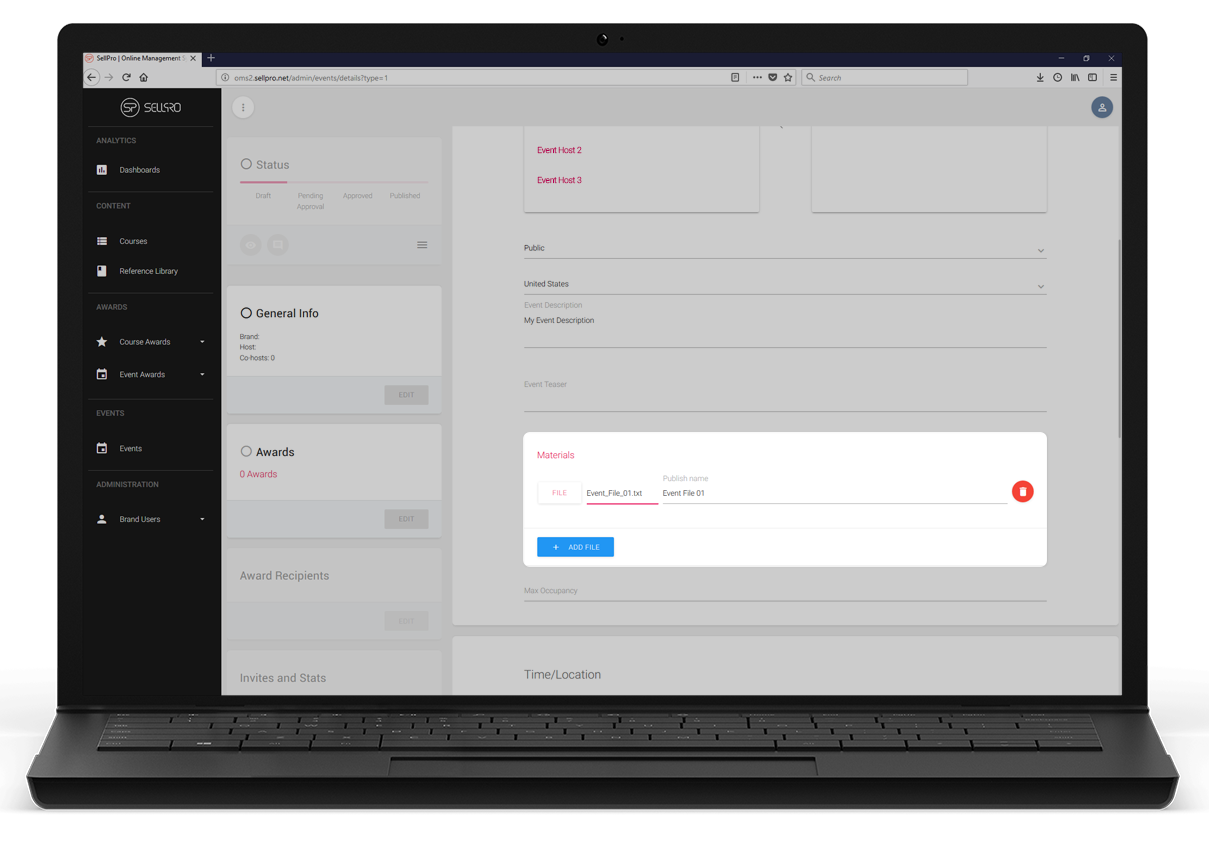
- Materials
- This option gives you the ability to attach supporting content for your event such as spec sheets.
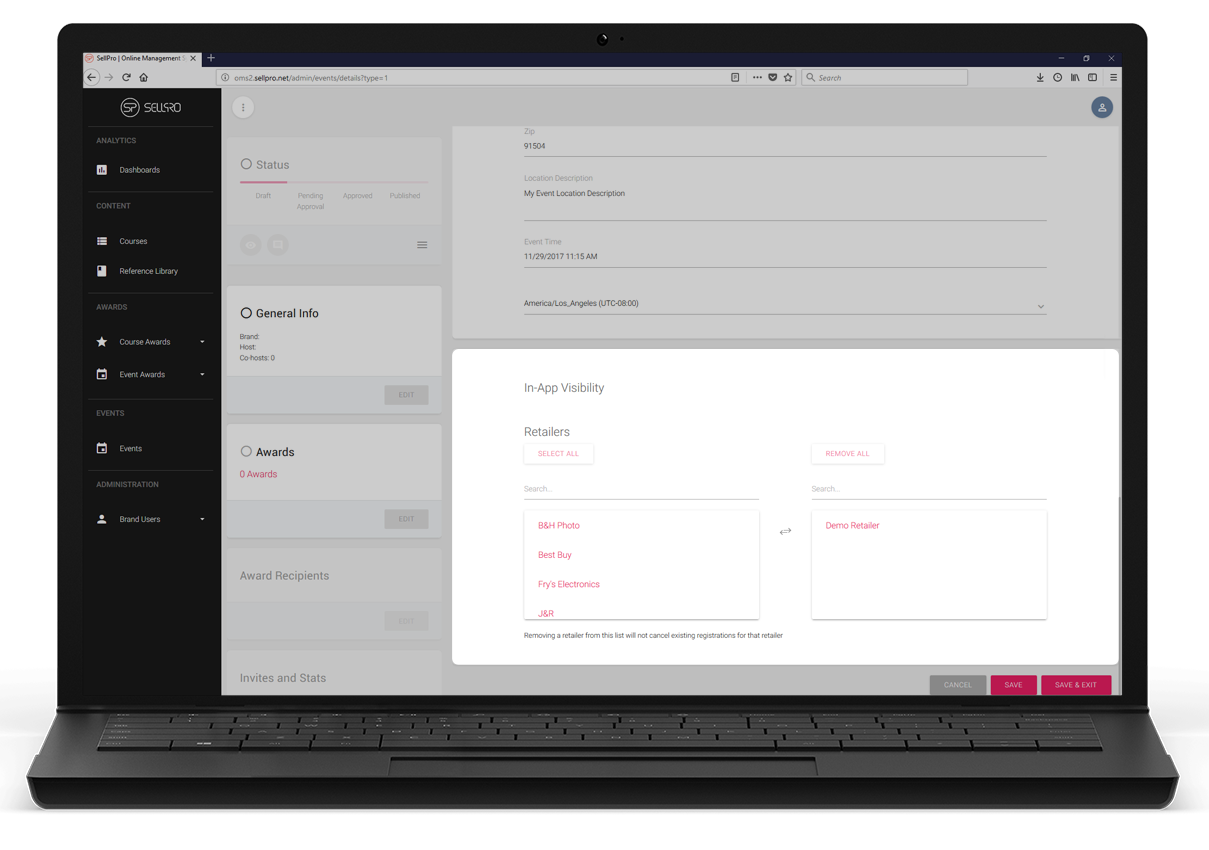
- Retailers
- This is where you define which retailers you would like your event to be exposed (does not apply to Live-Single Store events as you will define this when you select your specific store)
- Event Exposure
- Once you have completed the form, click Save & Exit at the bottom right of the form.
- Once an event is saved, a new record is created for your event.
ADD AWARD TO EVENT (optional)
- If you are not already in the edit screen for your event, find your event on the events list and click the Edit button.
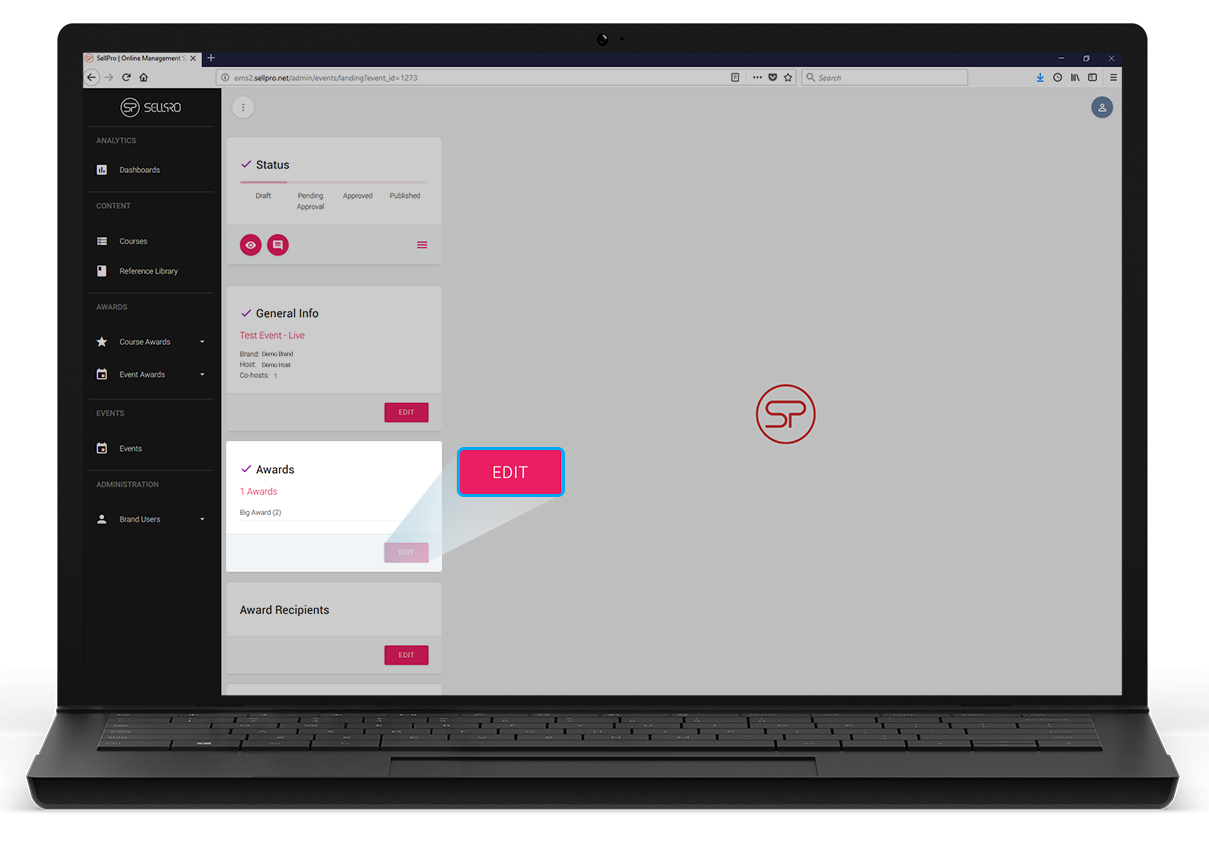
- Scroll down to the the Awards Tile and click the Edit button.
- This will reveal a list of available awards, find your desired award(s), enter the requested quantity and click on the Assign button.
- When you are done assigning your awards, scroll to the bottom of the form and click the Save & Exit button.
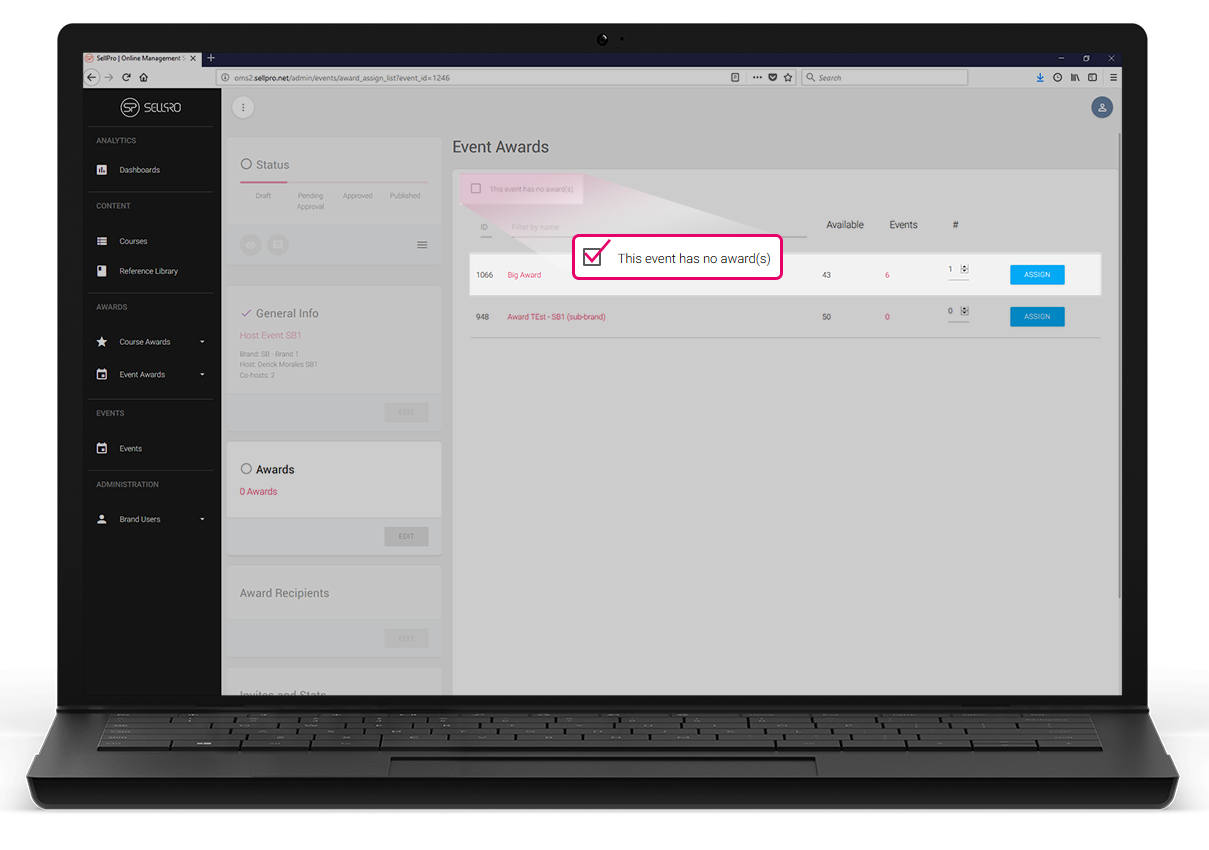
Event Awards
If your event will not have awards associated to it, go to the Awards Tile, click the Edit button and select the "This event has no award(s)" check box.
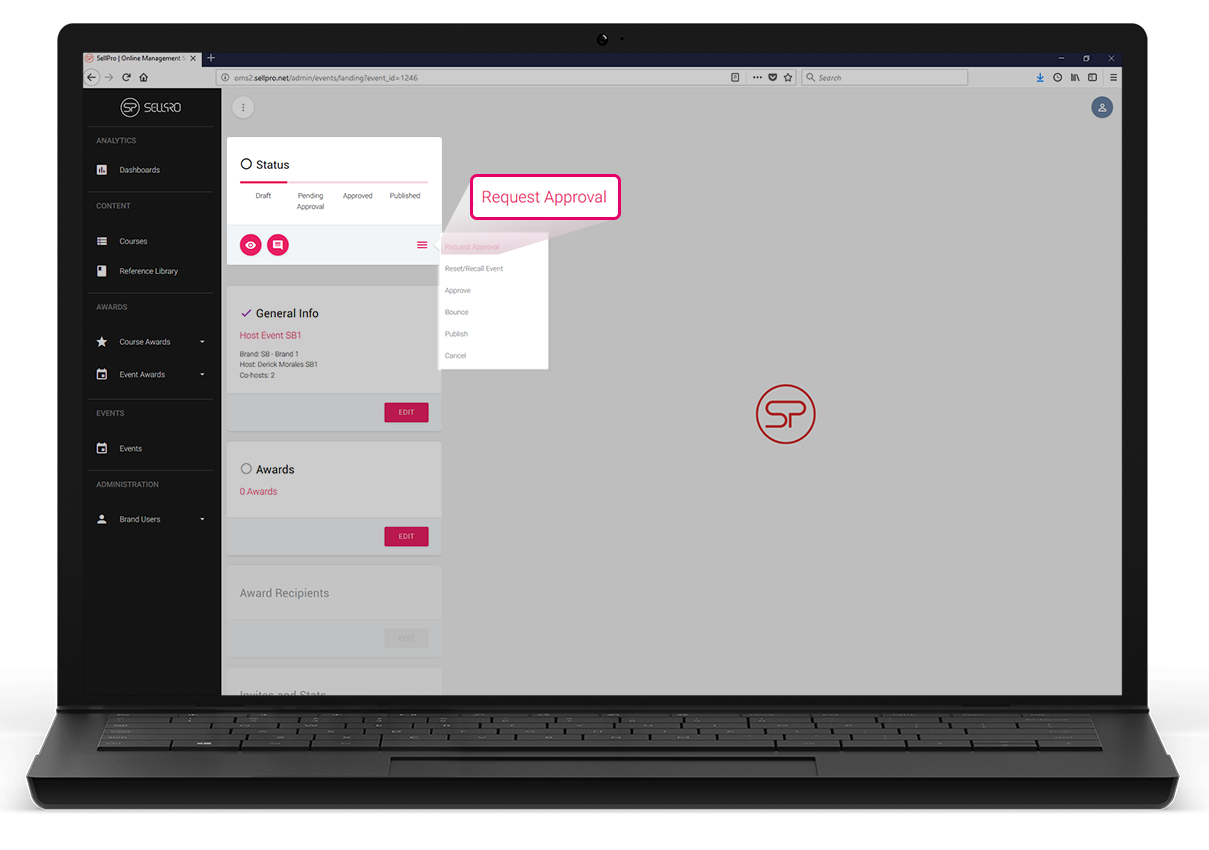
REQUEST APPROVAL
- If you are not already in the edit screen for your event, find your event on the events list and click the Edit icon.
- Go to Status Tile (located on the top left) and click on the hamburger button, this will reveal a status options menu.
- Click on the Request Approval option to submit your event for approval.
If Approver bounces event, he or she will provide you with comments regarding changes that must be made before approval can be granted. Once appropriate changes are made, submit your event for approval again.
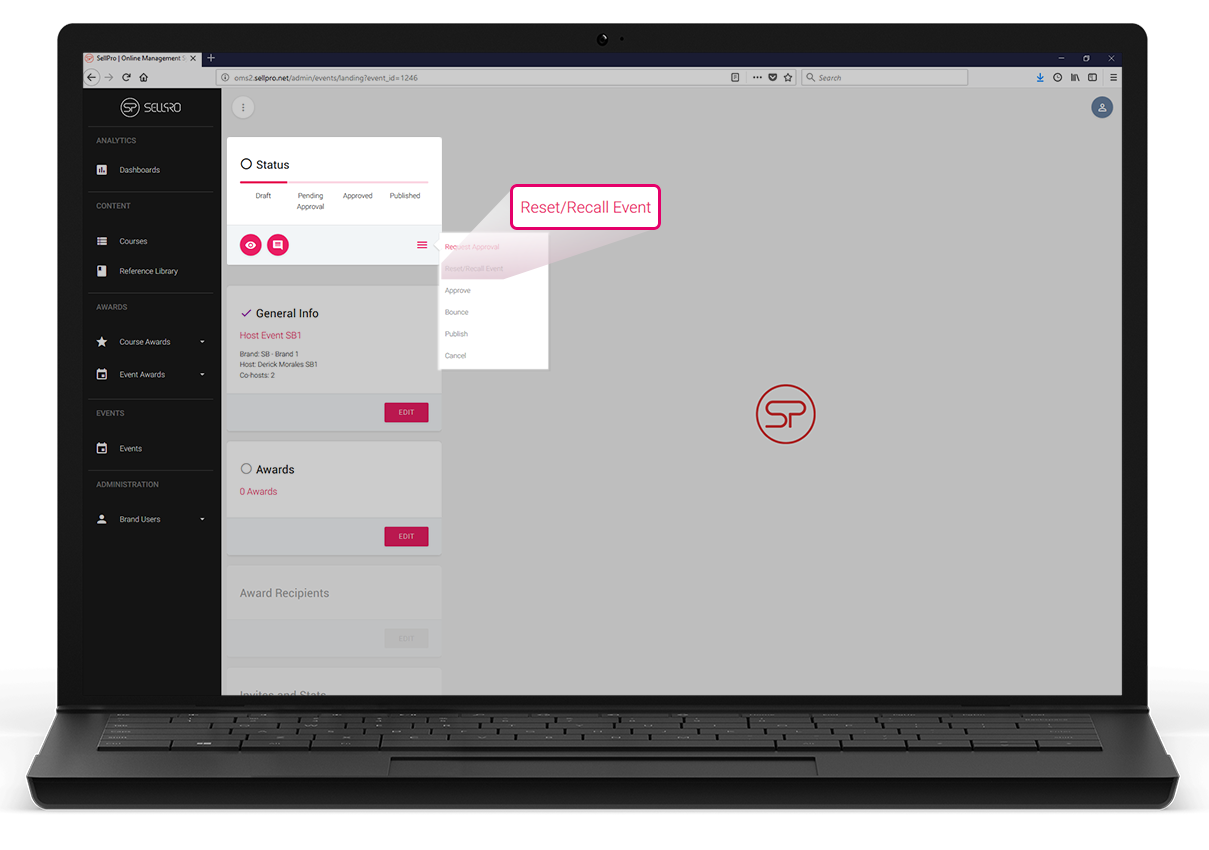
IMPORTANT
Once an event is approved, specific fields cannot be edited or modified in any way (e.g., event location, time, etc. cannot be adjusted).
If changes to those fields must be made, this event must be recalled through the Status tile by clicking on the Reset/Recall Event option. Once all the desired changes are made, the event must be re-submitted for approval.
Note: Published events cannot be recalled.
Learn. Earn. Sell.